Administrators can create profiles for new employees in their company.
It is possible to do so one by one (in this manual) or in bulk import of new users by uploading special MS Excel sheet.
Please note that only employees with special permissions can use this functionality.
Step 1 – Organization

Click on Organization and select Employees.
Step 2 – New employee
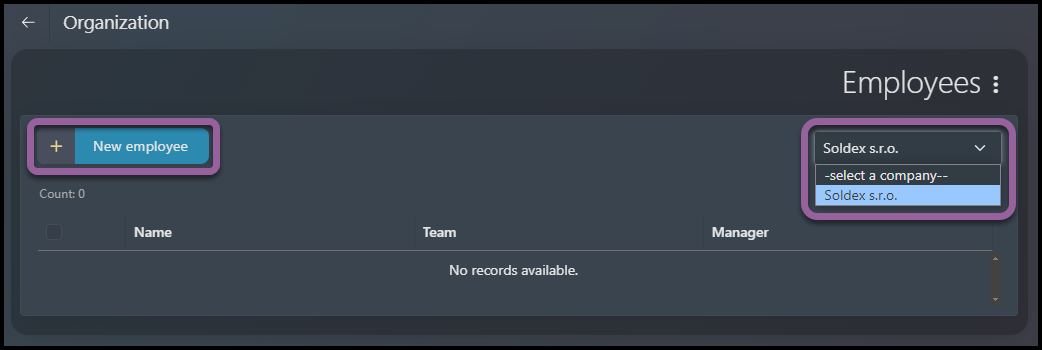
If you have access to add employees in more than one company, you must add employees individually for each one of the companies – select a Company.
Click New employee.
Step 3 – General information
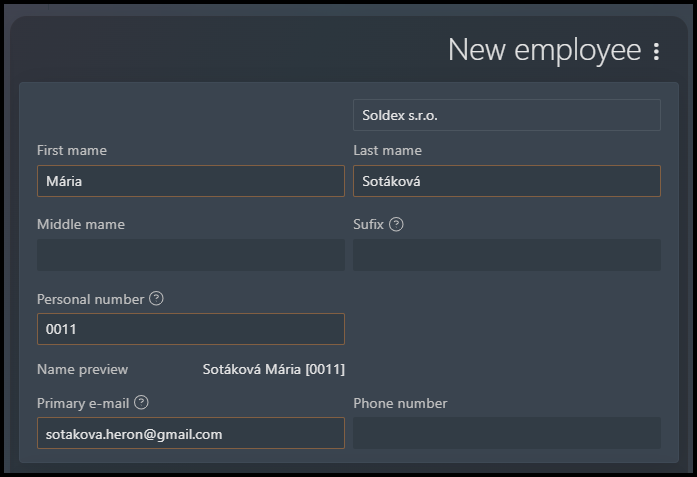
You must fill in the fields in orange.
Step 4 – Employment & Attendance details
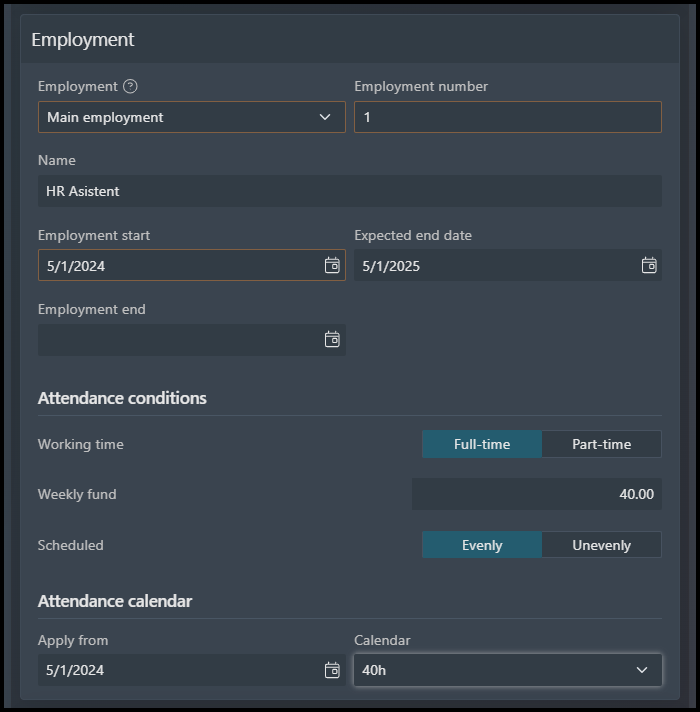
Employment number – This number is necessary in order to save the employee in HERON. You can select “1”, if the employee has just one employment.
Name (of the position/employment)
Expected end date – This date serves for informative purpose only. For example, an employee has a fixed contract for one year, you can insert the end date here. The date will be displayed in exported reports.
Attendance conditions & attendance calendar – It is possible to add this data later.
- The Attendance conditions part serves as a filter.
- Select the parameters and then choose a correct Attendance calendar.
You can add a team (therefore a manager, attendance approver) later. However, if you forget to add an employee into a team, there might be a period when no one is approving his/her attendance requests and closing a month.
Please note that any changes that you make here are valid immediately after saving – it is not possible to make a change in the future or past. If you want to set up (or change) a team/manager from a different date than now, go to the Import of changes functionality.
Step 5 – Account settings
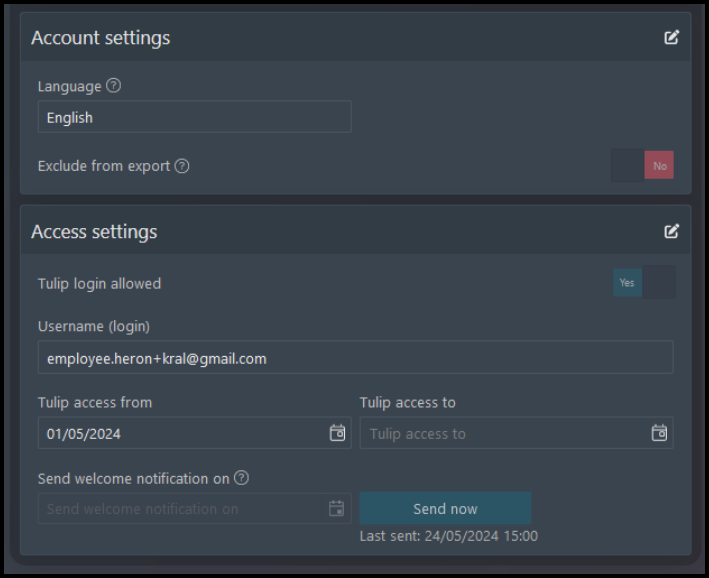
There is a default language of HERON pre-filled automatically & it can also be changed anytime.
Please be aware you must send a welcome notification to the employee (individually to this particular employee, or in bulk to multiple employees). Without the notification, the employee cannot access his/her account in HERON portal.
There are two options:
a) Set up the date & time (for example, if the employee starts in the future and not now).
b) Do not set up date/time, click Save first – A new button appears on the screen – Send now. Click on the button to send the notification immediately.
Click Save.
Step 6 – Permissions
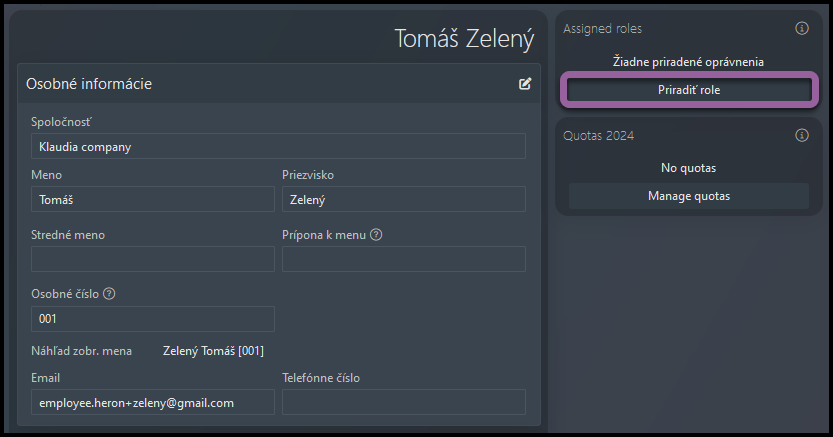
Scroll up and select Permissions.
Select Edit.
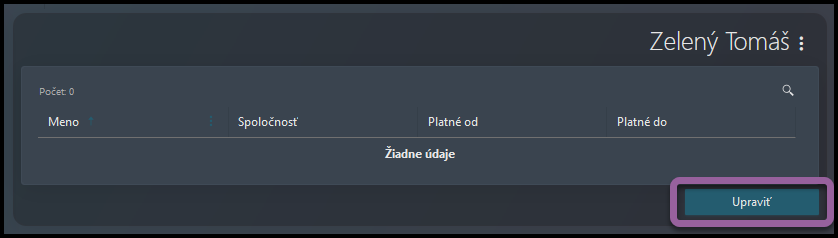
You are redirected to the section called Permissions to add permissions to the employee.
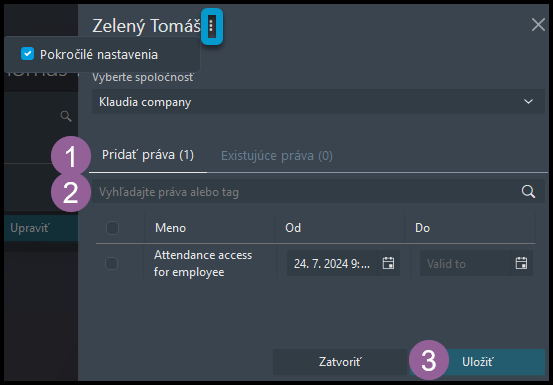
1) Go to the Add Permissions tab.
2) Select the type of permission: for example, most employees will need a permission called “Employee Attendance Access”.
To set the “From” and “To” dates, click on the three dots icon at the top of the screen.
3) Click Save.
Step 7 – Quotas
It is possible to:
a) add quotas individually in this view,
a) import different quotas for multiple employees at once,
b) set up default quotas that will be automatically added to all employees when you open a new year in HERON.